Crusty Dutch Oven French Bread

Simple 5 Ingredient French Bread with Yeast. Sourdough Version Coming Soon!

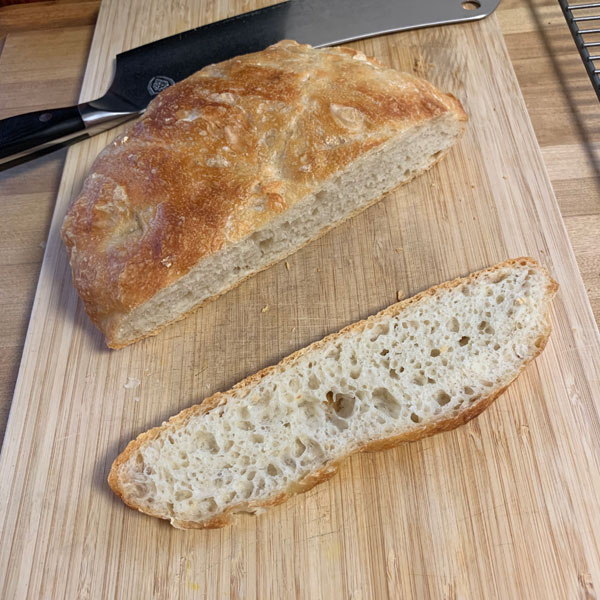
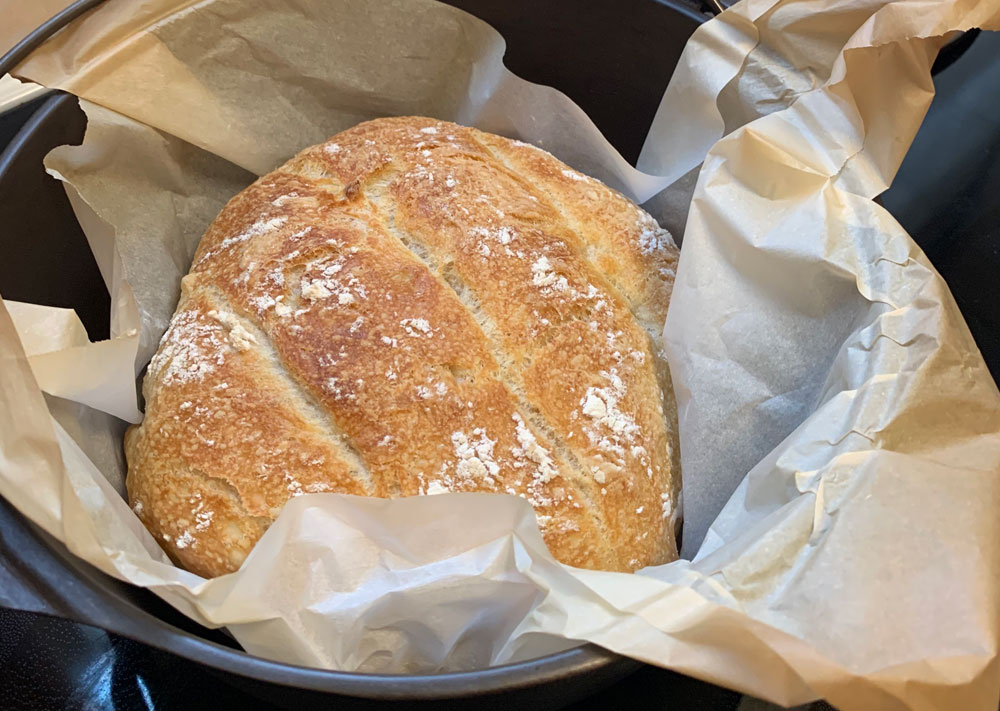
This is a super easy French Bread recipe with minimal ingredients. Done correctly it achieves a wonderfully crusty bread with a great texture, full of beautiful bubbles, and better than anything you can buy at your local grocery store!

A note before you continue with this recipe: I used a few things that you may not have handy, specifically a Kitchenaid Stand Mixer, a food scale, and a probe thermometer. These definitely made it easier to make this bread, but you should do fine without them with some adjustments.


Prep Time: 60 Minutes | Rest Time: 8 Hours | Cook Time: 40 Minutes | Total Time: 9.5 Hours | Makes 1 Loaf
Crusty Dutch Oven French Bread

Ingredients
  • 375g All Purpose Flour (about 3 cups)
  • 3 1/4 Teaspoons Active Dry Yeast (one packet)
  • 300g Warm Water (about 1 and 1/4 cup)
  • 10g Kosher Salt (about 1 and 1/4 teaspoon)
  • 1/2 Teaspoon Sugar
Equipment / Supplies
  • Stand Mixer (recommended, not required)
  • Kitchen Scale (recommended, not required)
  • Probe Thermometer (recommended, not required)
  • Cast Iron Dutch Oven - 4.5qts (#8) or Larger
  • Proofing Basket (recommended, not required)
  • Bread Lame, Razor Blade, or Very Sharp Knife
  • Spray Bottle of Water (recommended, not required)
  • Parchment Paper
  • Plastic Wrap
  • Clean Kitchen Towel

Instructions

Preparation
  1. Add the 300g or 1.25 cups warm water to the bowl of your stand mixer or a large mixing bowl. You want the water to be between 100-110 degrees fahrenheit when you add the yeast, so this is where a probe thermometer comes in handy
  2. Add the sugar and yeast to the water, give it a very gentle stir to ensure it mixes in well
  3. Allow 5-10 minutes for the yeast to proof. You should notice bubbles or foam forming if the yeast is activating. If you aren't seeing any change to the surface your yeast may be dead or your water may have been too hot or too cold
  4. After your yeast has begun to show signs of life, stir in the flour and salt
  5. Once the flour has been added to the bowl, set your mixer to the stir setting for about 5 minutes, occasionally scraping the dry flour off the sides of the bowl to ensure it is fully incorporated. If you don't have a stand mixer you can mix and knead the dough by hand for about 10 minutes until there is no dry flour left. Keep in mind, this is a fairly wet dough, it may seem like it needs more flour but don't worry, it doesn't!
  6. Place a clean kitchen towel over the top of the bowl and set it somewhere warm to rise, undisturbed, for 1 hour
  7. After an hour, generously flour your hands and a cutting board and transfer the dough from your bowl to the board
  8. Sprinkle a small amount of flour on top of your dough to help prevent sticking
  9. It's now time to shape the dough. There are a few ways of doing this, and I would recommend looking at some videos of different techniques to see what you think will work for you. The most basic version would be: Using your hands, gently pull the dough out at the edges and fold back in, creating a nice ball shape. This should only take about 4 pulls and folds, you are just giving it a basic shape at this point, not kneading it
  10. Generously flour your dough ball as well as your proofing basket or a large bowl
  11. Transfer your dough, seam side up, into the basket or bowl
  12. Cover with plastic wrap and place in the refrigerator overnight, or 8-10 hours
Cooking
  1. Use your dutch oven as a template to cut out a round piece of parchment paper that will fit nicely inside
  2. Place your dutch oven in the oven and pre-heat to 465 degrees.
  3. Once your oven has been up to temperature for at least 15-30 minutes, remove your dough from the fridge
  4. Sprinkle some flour on top of your dough and carefully transfer upside-down (with the seam down) onto the center of your parchment paper circle
  5. Score the top of the dough with a bread lame, razor blade, or very sharp knife
  6. Carefully remove the hot dutch oven from your oven, remove the lid, and carefully place the dough inside
  7. Optionally spritz the dough with water from a spray bottle
  8. Immediately replace the lid and place the dutch oven back in the oven
  9. Bake for 25 minutes
  10. After 25 minutes, remove the lid from the dutch oven, and bake for another 15-20 minutes, or until the bread is a beautiful golden brown
  11. Once finished, carefully remove the bread from the dutch oven and allow to cool for at least 30 minutes, preferably 1 hour, before cutting. I know you will be tempted to cut into it while it's hot and fresh, but that will allow the steam trapped inside to escape, leading to a dryer, tougher loaf once it cools
  12. Slather in butter, preserves, whatever you want, and enjoy!